Create a Settings Page
앱에 설정 페이지를 추가 하겠습니다. 이를 통해 사용자가 서비스 비용을 지불하게 할 것입니다. 순서는 다음과 같습니다.
- 사용자는 신용 카드 정보와 저장할 노트 수를 입력합니다.
- 프론트엔드에서 Stripe API를 호출하여 신용 카드 토큰을 생성합니다.
- 그런 다음 토큰 및 노트 수를 사용하여 청구 API를 호출합니다.
- 우리의 결제 API는 금액을 계산하고 카드에 청구서를 보냅니다!
시작하려면 설정 페이지를 추가하십시오.

src/containers/Settings.js 파일을 새로 만들어 다음 내용을 추가합니다.
import React, { Component } from "react";
import { API } from "aws-amplify";

export default class Settings extends Component {
  constructor(props) {
    super(props);

    this.state = {
      isLoading: false
    };
  }

  billUser(details) {
    return API.post("notes", "/billing", {
      body: details
    });
  }

  render() {
    return (
      <div className="Settings">
      </div>
    );
  }
}
다음으로 src/Routes.js 파일의 헤더에 다음 내용을 추가합니다.
import Settings from "./containers/Settings";
그리고 src/Routes.js 파일의 <Switch> 블럭을 다음 내용으로 바꿉니다.
<Switch>
  <AppliedRoute path="/" exact component={Home} props={childProps} />
  <UnauthenticatedRoute path="/login" exact component={Login} props={childProps} />
  <UnauthenticatedRoute path="/signup" exact component={Signup} props={childProps} />
  <AuthenticatedRoute path="/settings" exact component={Settings} props={childProps} />
  <AuthenticatedRoute path="/notes/new" exact component={NewNote} props={childProps} />
  <AuthenticatedRoute path="/notes/:id" exact component={Notes} props={childProps} />
  { /* Finally, catch all unmatched routes */ }
  <Route component={NotFound} />
</Switch>
새로 만든 설정 페이지에 대한 경로를 추가한 것을 주목하십시오.
다음으로 src/App.js의 render 메쏘드를 이용하여 Navbar의 설정 페이지에 링크를 추가하십시오.
render() {
  const childProps = {
    isAuthenticated: this.state.isAuthenticated,
    userHasAuthenticated: this.userHasAuthenticated
  };

  return (
    !this.state.isAuthenticating &&
    <div className="App container">
      <Navbar fluid collapseOnSelect>
        <Navbar.Header>
          <Navbar.Brand>
            <Link to="/">Scratch</Link>
          </Navbar.Brand>
          <Navbar.Toggle />
        </Navbar.Header>
        <Navbar.Collapse>
          <Nav pullRight>
            {this.state.isAuthenticated
              ? <Fragment>
                  <LinkContainer to="/settings">
                    <NavItem>Settings</NavItem>
                  </LinkContainer>
                  <NavItem onClick={this.handleLogout}>Logout</NavItem>
                </Fragment>
              : <Fragment>
                  <LinkContainer to="/signup">
                    <NavItem>Signup</NavItem>
                  </LinkContainer>
                  <LinkContainer to="/login">
                    <NavItem>Login</NavItem>
                  </LinkContainer>
                </Fragment>
            }
          </Nav>
        </Navbar.Collapse>
      </Navbar>
      <Routes childProps={childProps} />
    </div>
  );
}
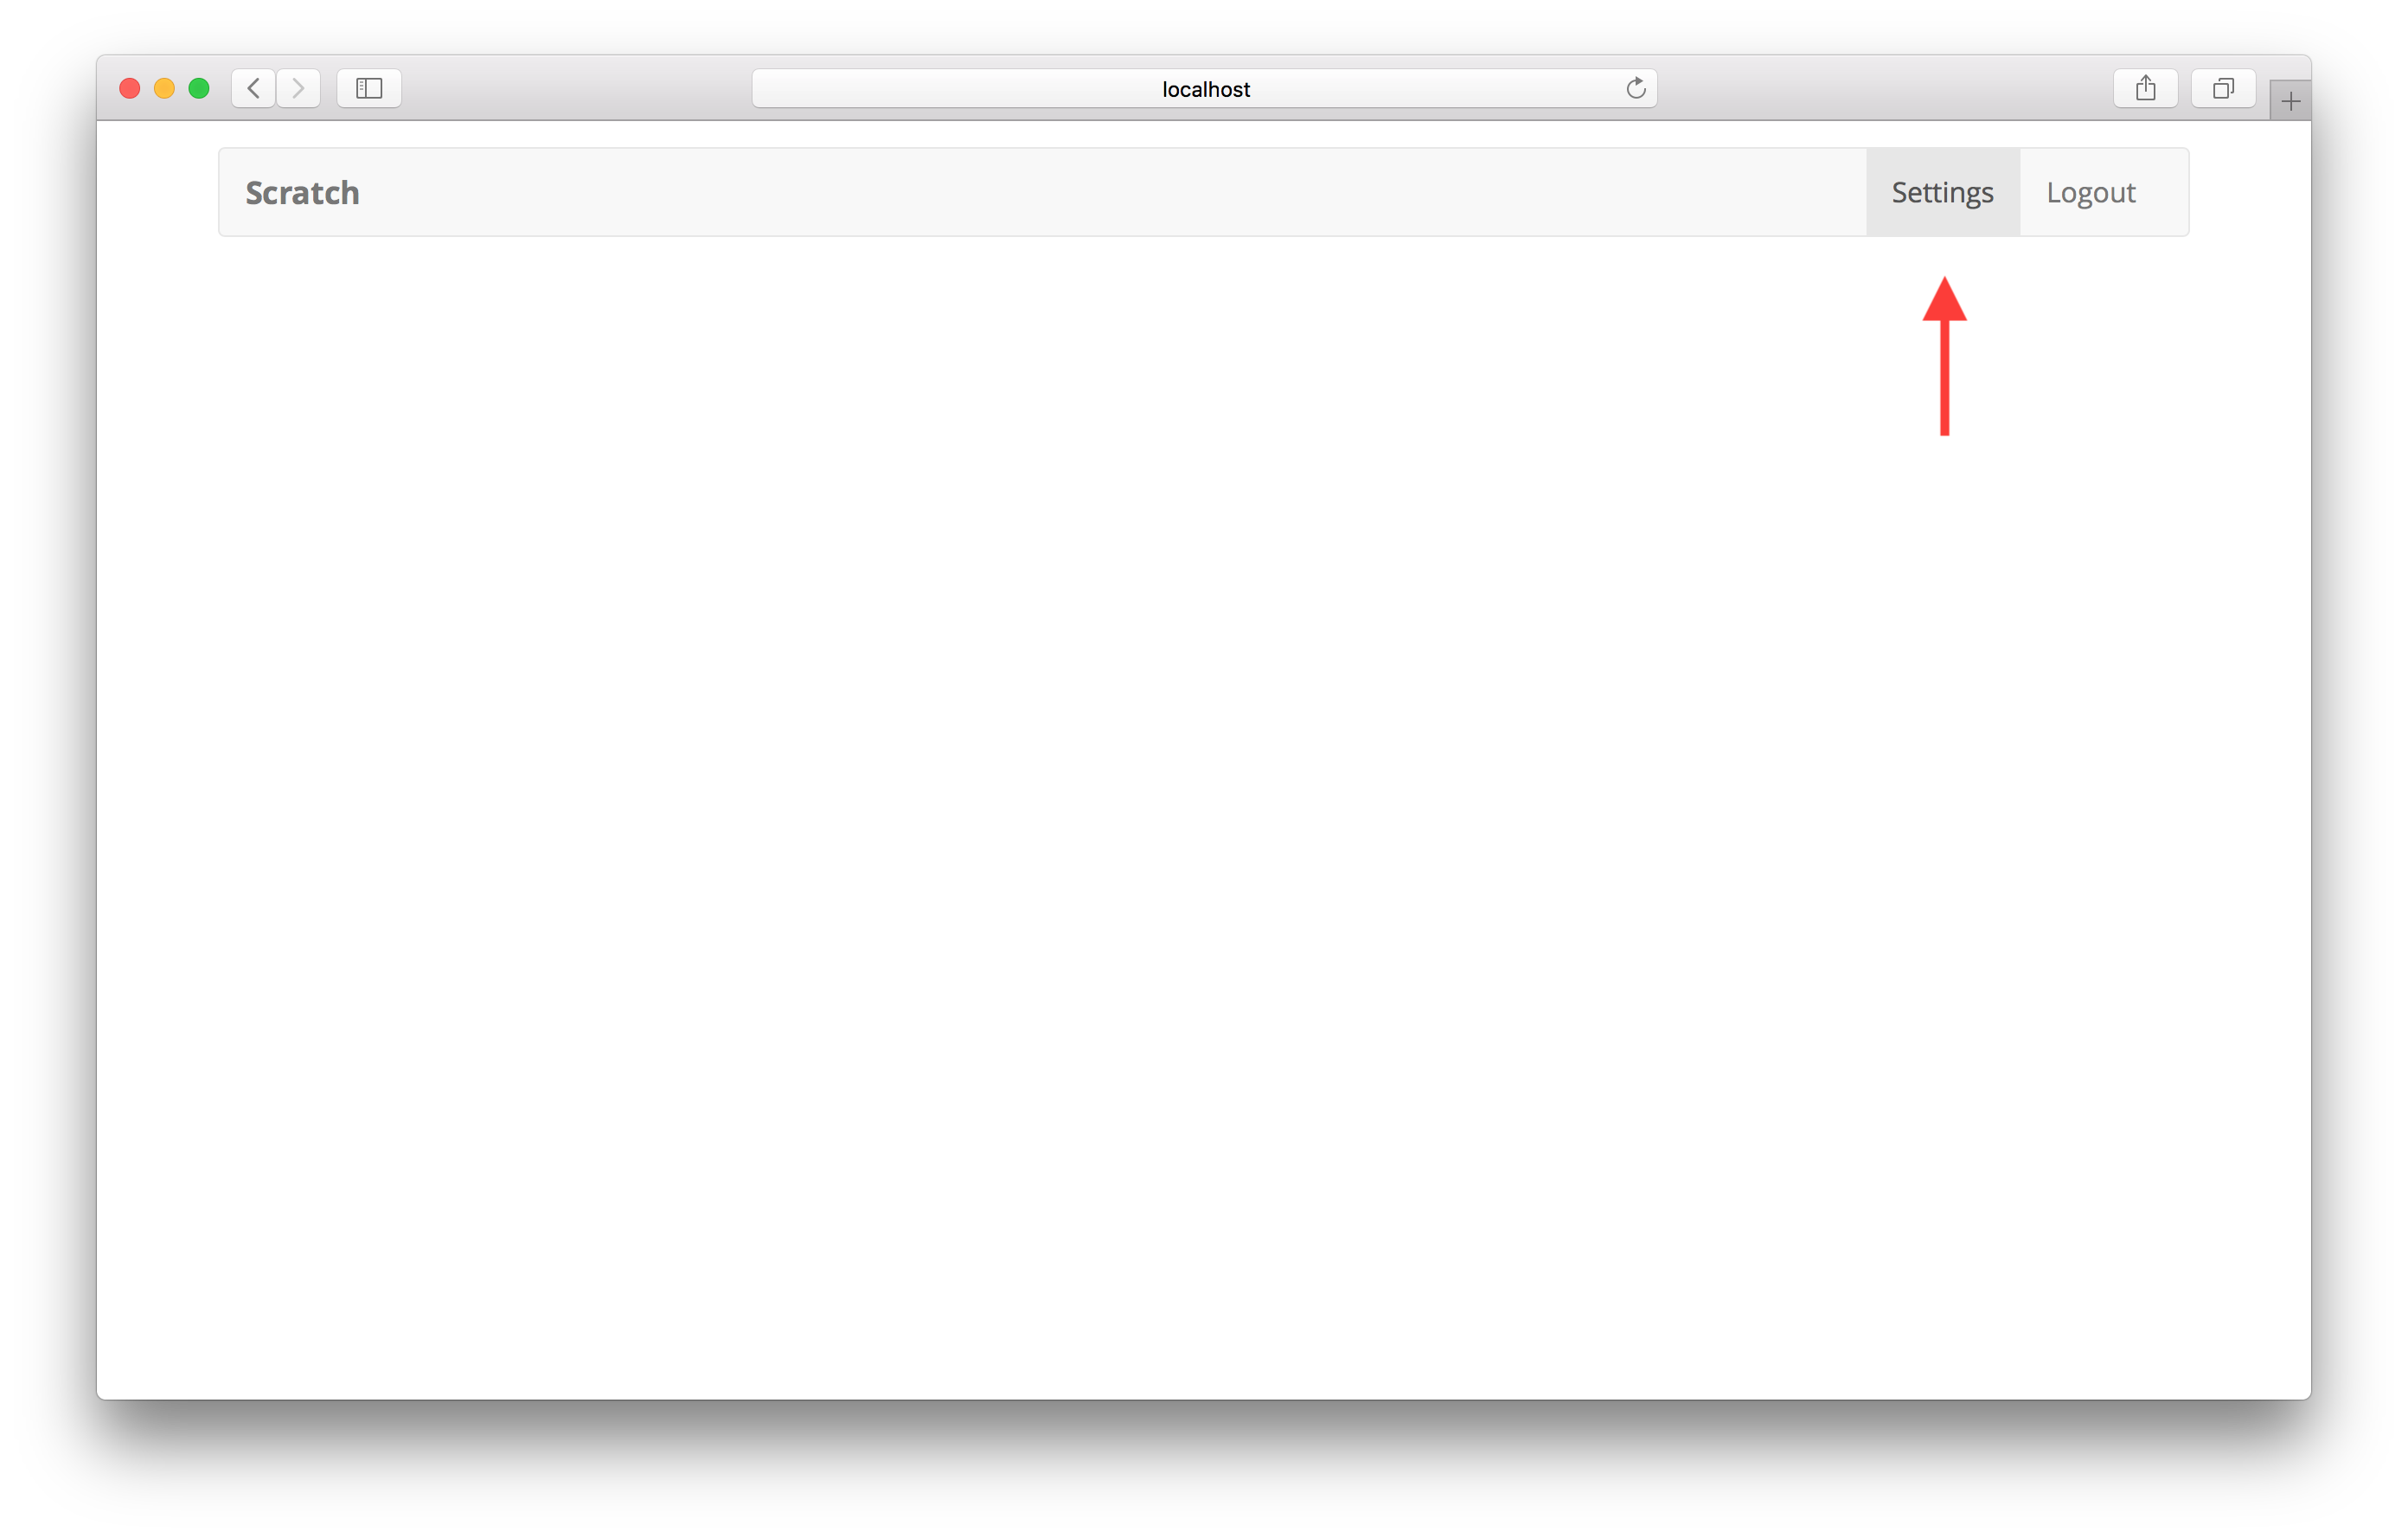
사용자가 로그인한 경우, Navbar에 새로운 링크를 추가했음을 알 수 있습니다.
이제 앱으로 이동하면 상단에 새로운 Settings 링크가 표시됩니다. 물론, 페이지는 지금 꽤 썰렁합니다.
변경 사항 커밋
Git에 빠르게 커밋합니다.
$ git add .
$ git commit -m "Adding settings page"
다음으로, 앱의 구성 정보에 Stripe SDK의 키를 추가하겠습니다.
For help and discussion
Comments on this chapter